DIY Solar Panels for Home: 5-Step Installation Guide
If you are reading this, you already know how much money you can save by switching to renewable solar energy. But the trouble is, you also need to buy your way into saving, and buy it big time.
You could, of course, save more by DIY-ing your residential solar panels yourself. But that’s only possible if you have some, and some would say a whole lot, technical knowledge.
A solar roof is handy for farms, businesses, and homes with large power requirements, so acquiring DIY solar panels should be a no-brainer.
Check out this DIY solar panels installation guide as we break down the complex process into simple, digestible steps you could hack at home.
Put on your gloves, and let’s get busy. But first, let’s get something straight.
Can I Install Solar Panels Myself?
The short answer is yes.
Going fully solar is an excellent idea since you’ll save on energy costs in the long run and enjoy some tax incentives.
Still, it also bears challenges, especially if you have little or no technical skills to handle the equipment.
Designing and installing a solar panel system is no walk in the park. That’s why many solar companies provide specialized installation services when you buy your solar panels.
To make things easier at a glance, we listed some benefits and drawbacks of designing and installing your home solar panel system:
Pros
- Saves you on installation costs, especially if you have the required skills or experience to do it yourself.
- Reduces the heavy power bills and gives your home/farm/business freedom to access and use power-reliant machinery and houseware.
- You can use DIY solar panels to power recreational vehicles and boats efficiently.
Cons
- Designing and installing large solar panels cysts for an entire farm or a large house can be tricky for only one person without professional help.
- Installing your DIY solar panel kits alone takes longer than it would professional installers (especially if it’s an extensive system).
- ‘Do it yourself’ maintenance warranties do not cover solar panels. So you must do all the maintenance yourself, which is expensive and time-consuming.
- DIY solar installation may be illegal in some states and regions for safety reasons. Always check if the installation is permitted in your region.
You can recoup your initial DIY solar panel installation cost in 7-8 years if you divide your initial installation cost by your annual financial benefits.
That’s an attractive offer, especially for energy-intensive households, farms, and businesses.
Moreover, city dwellers can add solar panels as a backup for the main grid power. Still, you are advised against going off the grid entirely.
Your regular power supply can balance the deficit if your solar panels’ energy production can’t keep up with your daily energy needs.
What You Need When Prepping for DIY Solar Installation
After you decide to install your solar panel system, you need to properly assess your house or installation site to make sure it ticks all the efficiency and legal boxes.
1. Roofing Conditions
Before installing solar panels on your roof, you must consider a few factors. The primary factor is the roofing material.
Some roofing materials, such as clay tiles, slate tiles, and wood, are unreliable because they are fragile and may pose physical dangers during installation, such as slips and cave-ins.
A wooden roof is also a potential fire hazard.
Having said that, the best roofing materials for solar installation include:
- Metal/Iron sheets
- Flat tiles
- Asphalt shingles
Also worth noting is that the pitch of your roof also affects solar panel installation. Contrary to popular belief, solar panels that face either west or east produce 20% less energy.
As solar panel experts Ashlyn Brooks and Lowe Saddler told Forbes, the best roof orientation for buildings north of the Equator is facing true south, and vice versa for buildings south of the Equator.
If that’s not the case, an ideal roof inclination angle is 30 degrees and a maximum of 45 degrees. A greater angle than the 30-45 degrees range will slightly affect your panels’ energy production.
Lastly, avoid installing your solar panels on an old roof. Most solar panels have an active life span of about 25 years, which means they might outlive old roofs, and you’ll be forced to reinstall them – leading to additional (yet avoidable expenses) down the line.
2. Shading
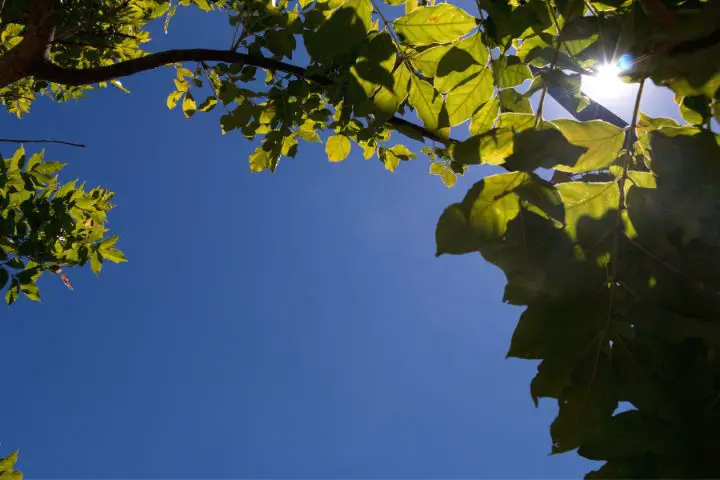
Shading involves physical obstructions to your solar panels. According to PVEducation, “The output of a cell declines when shaded by a tree branch, building or module dust.”
The source also adds that shading just one cell in a string of cells can lead to zero power output in the entire module and up to 40% overall power loss. That eventually beats the purpose of installing solar panels, doesn’t it?
Well, there are two types of shading likely to affect your solar panel power output.
These are:
- Dynamic shading – It is a temporary shade cast by moving shadows, clouds, snow, bird droppings, and accumulated dust.
- Static shading – It is a preplanned shade cast by stationary objects such as satellite dishes, buildings, trees, and chimneys.
You should trim nearby trees, and reposition your satellite dish or solar panel installation site to minimize shading as much as possible before installing do it yourself solar panels for the best results.
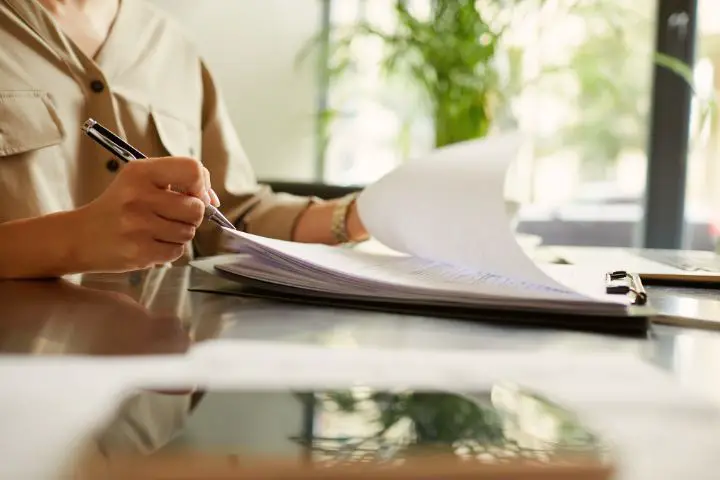
3. Installation Permits
Tinkering is fun alright, but the paperwork won’t do itself either.
You must get a legal permit before installing DIY residential solar panels to ensure your solar panel system meets the set standard requirements.
Usually, solar permits require two approvals: from your local construction authority and electrical company.
This is the most time-consuming process since submission, documentation, and approval can take days, weeks or even months.
Of course, the process largely depends on how busy your local authorities are. In addition, various permit fees apply (of course), so you should ask about the costs and factor them in before diving in headfirst.
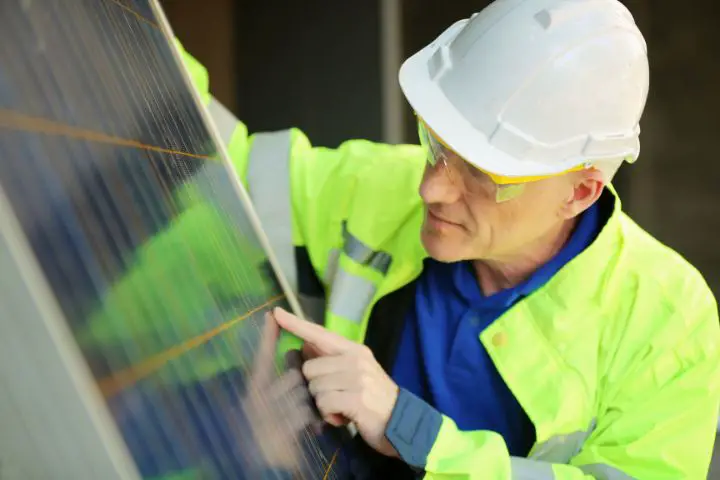
How to Install a Solar Panel
DIY solar panel installation is a sensitive process that requires your full attention to get every detail right.
The installation process can be broken down into five steps, which you need to follow religiously.
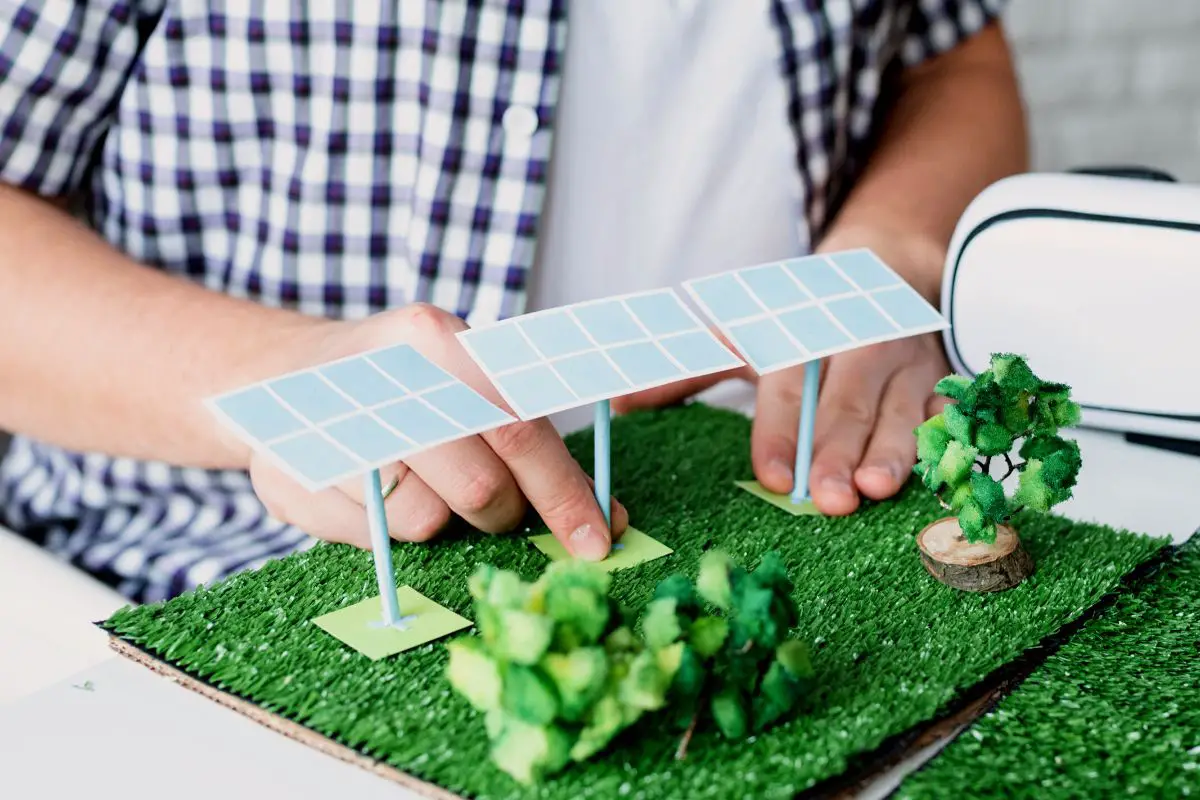
Step 1: Design Your Solar Panel System
Every household or business has custom power needs. This means you must calculate your daily power requirements to design a sufficient solar panel system.
How do you do this?
- First, check your annual power consumption in KWh, then break it down to monthly and daily kWh usage.
- Find out your average peak hours (the hours the sun produces the most sunlight). They vary for different locations, so be specific.
- Calculate the amount of solar panels you’ll need. Divide your daily kWh rate by the peak hours to get the kW output. Then take this number and divide it by your chosen panel’s efficiency to get exactly how many solar panels you need.
Almost always, you’ll need a professional hand or two to get the initial calculations right.
With this data, you can choose suitable mounts to accommodate the panels.
Finally, you will have to choose between a hybrid/grid-tied or off-grid system.
Off-grid systems let you live autonomously, producing 100% of your energy, while grid-tied systems provide stored solar energy complimented by your power grid.
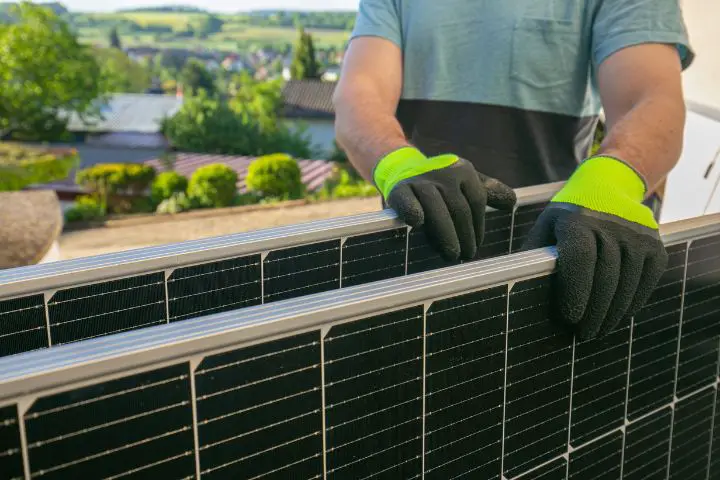
Step 2: Purchase Your Solar Panel System Components
The secret to a successful, durable solar panel system is sourcing quality solar panels and components, such as cables, batteries, and inverters.
If you have a significant energy output requirement, you can save more money by purchasing fewer larger solar panels than a bunch of smaller ones.
However, if you have limited space, you can go for smaller solar panels.
There are two critical factors to consider when purchasing solar panels:
- Efficiency – Higher wattage solar panels are more efficient at producing reliable power. DIY solar panels for homes produce an average of 250-400 watts if well-angled, shade-free, and kept clean.
- Quality Certificates – An assurance of quality gives you the peace of mind that a warranty covers your solar panel system and its components in case of faulty equipment operations.
On top of that, you also need reliable inverters and capable battery cells that work well together. Your inverter should possess reliable protection systems from power surges, including a user-friendly panel.
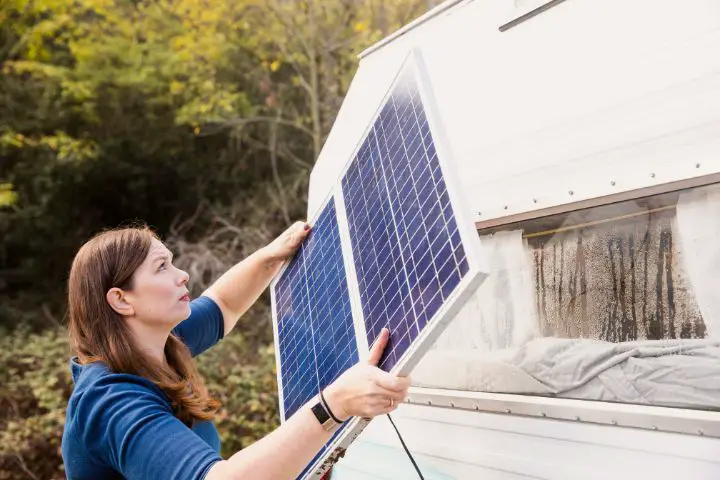
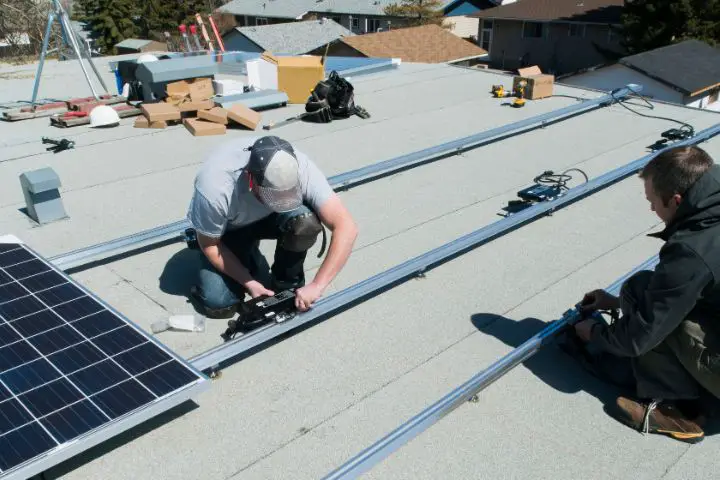
Step 3: Choose and Install Compatible Mounts
A roof mount is the best option for mounting your solar panels since it can be adjusted to soak up maximum sunlight.
Roof mounts are the cheapest option since they use your roof as a foundation and take up less space on your property.
Solar panels should face the equator for maximum energy collection, but this is not applicable to every building.
If a roof mount is not feasible, you can install ground or pole mounts.
Below is a comparative analysis of the pros and cons of roof mounts vs. the formidable ground mounts.
| Pros of Roof Mounts | Cons of Roof Mounts |
|---|---|
| Occupy less real estate | Difficult to access on slippery or steep roofs |
| Cheaper to set up | Panels are exposed to high temperatures, which minimizes the output |
| Requires few installation materials | Cumbersome reinstallation when you redo your roofing |
| Easy to get a permit |
| Pros of Ground Mounts | Cons of Ground Mounts |
|---|---|
| Easy to carry out maintenance | Requires more labor to install |
| Firmer panel support | Takes up valuable real estate space |
| Your panels cool easily | Installation is expensive since it requires lots of parts |
| Panels stay intact when maintaining or replacing your roof | Permits are expensive |
Step 4: Install Your Solar Equipment
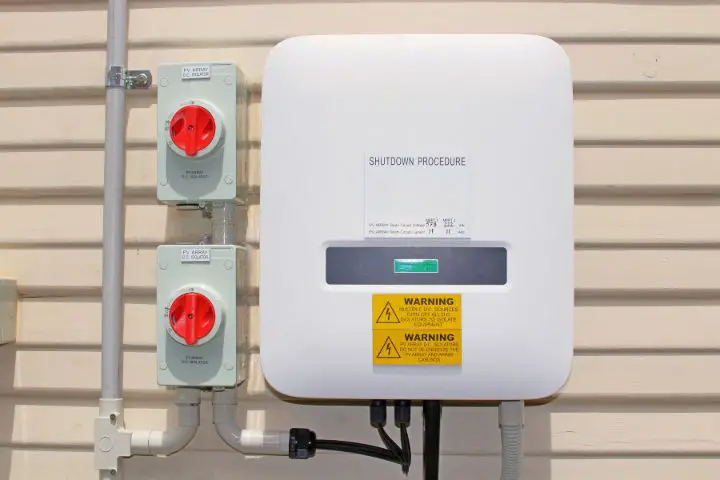
Before mounting your solar panels, you need to install your inverters, whose function is to convert the solar energy to usable current.
Afterward, bolt everything in place, then ground the system by linking it to a grounding wire.
The grounding wire is a piece of copper that runs across your solar panel railings and into the ground.
It protects your solar system from being hit by lightning and diverts dangerous currents from your system components if it does get struck.
After your inverters, battery, and lightning arrestor are in place, you can connect them to your mounted solar panels.
Step 5: Hook Up Your Solar Panels to the Grid
Now that all your hardware is firmly in place, you can schedule for local inspection by your local power authorities.
If your DIY solar panel set up meets the required power standards, you’ll finally be able to turn on your system.
Your local power company will supply the necessary meters to monitor your power usage.
Maintaining and Troubleshooting DIY Solar Panels
Remember, you are not covered for solar panel maintenance by an installation service provider if you installed your solar panels yourself.
That means you’ll need to get your hands dirty occasionally to keep your solar panel system spiffy, intact, and running. Head over to our earlier article for a more detailed guide. And here’s a short overview of what you need to do.
Remember that solar panels are electrical equipment, so you should turn them off before cleaning.
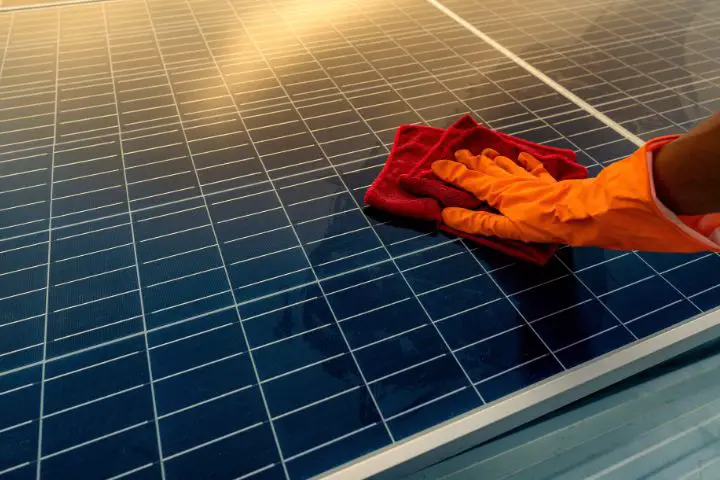
To clean your solar panels:
- Wipe off accumulated dust and dislodge physical particles like leaves and pebbles using a soft brush and cloth to avoid damaging your solar panel screen.
- Spray clean water over the panels with a garden hose.
- Check your input system for any effects from the cleaning.
You can also troubleshoot your DIY solar panels easily by:
- Confirming that your breaker switches work properly.
- Checking and removing any obstructions like tree branches on the panels and scanning under them for nesting birds and rodents.
- Inspecting your solar inverter and meter.
- Installing a solar monitor to detect underlying issues before they get out of hand.
DIY Solar Panels for Home – FAQs
Do I Need an Electrician to Install DIY Solar Panels?
Going the DIY way is to avoid extra help, so you don’t need an electrician to install a DIY solar kit if you’re well-versed with solar energy technology.
However, we recommend seeking the help of experienced installers and electricians who deliver a quality solar panel system.
Are DIY Solar Panels Affordable?
DIY solar kits cost just as much as regular solar panels. What makes them more affordable are the savings on installation and labor costs.
You can also pay a few people or your friends to help you install your solar panel. That’s (most of the time) more affordable than paying contracted hands.
How Many Solar Panels Are Needed to Power My House?
No two houses use the same amount of power, so there’s really no one-size-fits-all answer for this question.
Nonetheless, you can determine the number of solar panels you need by calculating your daily energy spend against a solar panel’s efficiency.
Check out Step #1 above to find out more.