How to Dry Out Sandbox Sand | 4 Easy Steps
Sand fun never ends: from burying your body in the sand to scooping and digging with construction toys, to building castles and knocking them down.
But then we go in over our heads and forget to put the lid on the sandbox. You see rain in the forecast. Now what?
You can choose to wait until the play sand dries, but the kids would wail and moan. There are several easy ways to help the sand dry faster (and do away with the kids’ boredom).
We have tested and can recommend two options: air-dry or oven-bake – yes, that’s a thing! But, assuming you don’t have an industrial-scale oven, only for small quantities!
Air-drying is by far the most common method. There are four easy steps you can follow: 1) find the sunniest spot in your yard, 2) place a large tarp (or an old sheet) in that spot, 3) spread the sand onto the tarp, 4) let nature do its trick!
Option #1: Air-Drying your sandbox sand
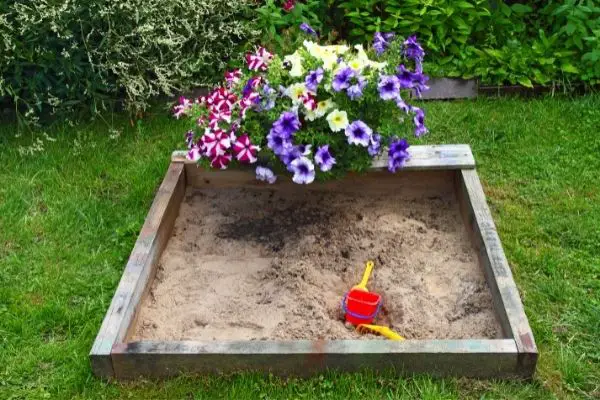
After storm, there has to be some sun on the way. Even if it’s not super sunny, as long as the rain has stopped, the drying process can begin.
This method relies on nothing more than evaporation! The goal here is to help nature do its job faster! Much faster! I have impatient kids after all!
If you want faster results for large amounts of construction sand or play sand, here are the steps to follow:
Step 1: Pick the perfect spot
After the rain has completely stopped, find the sunniest spot in the yard that is also close to the sandbox. If it’s not particularly sunny, don’t worry! Evaporation will still happen, just a little slower.
Step 2: Place a tarp in the sunny spot
Find the largest possible tarp that can contain all of the sand plus some room for spreading the sand!
If you don’t have one, think creatively. What do you have around your house that could replace a tarp? Car cover? Large card box that can be paid flat? Old bedsheets could also do the trick, however, keep in mind that particles of sand tend to stick to the fabric – a good shake-off should help.
Step 3: Trasnfer and spread the wet sand
It is time to transfer the sand onto the tarp. A garden shovel, buckets and a wheelbarrow will help the transfer. This is an activity that kids often like to help – at least mine do!
Once the transfer is completed, it is time to spread the sand as much as you can without letting it fall out of the tarp. Kids might need some supervision with this task.
Step 4: Let nature do its job
This is the hardest step for impatient kids that want to play in their sandbox! It is hard to estimate how long the evaporation process will take as it depends on the temperature and how spread-out the sand is.
Of course, the hotter it is and the more spread-out the sand is, the faster. Raking the sand regularly with a garden fork will also help.
As small patches of sand get dry, you can start transferring it back. However, I find it easier to just carefully carry the entire tarp and pour the sand back into the sandbox. This is best done with four people – one for each corner of the tarp.
Next time, try to remember to cover the sandbox when the kids are finished. The above process can be exhausting, especially if the sand gets super soggy after a heavy storm.
Option #2: Oven-bake the Sand
If the kids are cranky and want their sand, you can pop it in the oven to bake. This is only recommended for small quantities.
As silly as this may sound, it also kills any bacteria in the sand, so a win for you too. The oven method is best for homemade colored sand, beach sand, or store-bought sand.
The method is as follows:
- Preheat the oven to 200 degrees Fahrenheit.
- Spread the sand on a sheet or baking pan. Ensure that your layer is not thicker than ¼-inches.
- Bake the sand for one hour.
- It is advised to keep the oven door slightly open using a wooden spoon. You don’t want any damp smell in the kitchen!
- Turn the sand over if it is still wet in the bottom.
- If it is, let it back for 30 minutes or more if required.
- When the sand is completely dry, you can sort it in containers of your choice or based on color.
A small sandbox with wet sand can be racked and turned over until it is dry. While this is more work, it does dry faster.
How Can I Keep My Sandbox Clean?
The most important factor in keeping your sandbox clean is making sure it is covered at all times. If you do not have a cover, you can use a tarp. These are not the most secure, but they protect the sand from debris, animals, and the weather.
These tips will also help to keep your sandbox clean and free of junk:
- Make sure it’s ALWAYS dry. Water and moisture are not your friends! If you leave the sandbox wet, it can get moldy and all sorts of eew. Although your kids will find it totally fun to make sandcastles, there are all sorts of bugs waiting to inhibit them. And we don’t want this. Scroll up for a couple handy ways to dry out your sandbox if you ever get it wet.
- No eating or drinking in the sandbox! The kids can eat close to the sandbox, but they shouldn’t eat in the sandbox. This is because the food and drinks can fall into the sand, attracting critters and bacteria.
- Sprinkle cinnamon in the sandbox. Cinnamon is a natural bug repellent and is safe for children. This is not a good idea if someone is allergic to cinnamon.
- Watch the clothes and diapers! If you include the little ones, make sure that their diapers are secure and changed. Leaky diapers wouldn’t exactly be pretty for you. The clothes can have fine particles of sand on them, but no worries, there are ways to get sand out of the machine.
How Do I Make Sure My Sandbox Is A Safe Play Area?
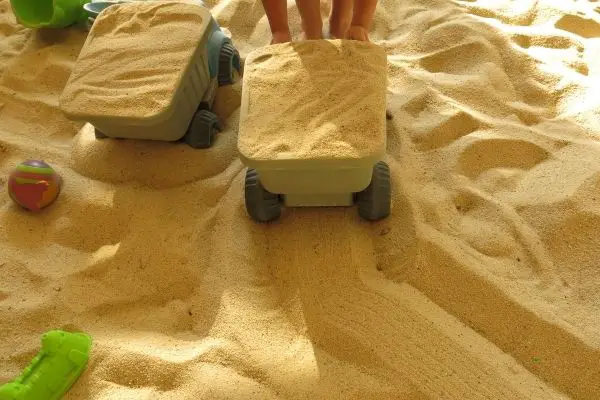
You can’t be your kid’s shadow (or their eyes and ears) while they’re playing. If nothing else, it would beat the purpose of play!
What you can do, however, is stick to a couple of safety precautions:
Avoid Gravel In The Sandbox
The kids can get scratched if gravel is in the sandbox, as it is too coarse to play with. Avoid placing gravel near the box so it will not get tracked in. You can rake the sand every day to make sure that there is no gravel.
Uh-oh! A Splinter!
This is a major ouchie, and removing them is important to prevent infection.
If your sandbox is a DIY project, you need to make sure it’s made of the correct type of wood or avoid buying wooden sandboxes. If your sandbox starts to splinter, sand it down immediately.
The Right Sand Is Also Important
Choosing the right sand for kids’ sandbox is quite important as some types of sand have been found to be unsafe as play sand.
Masonry sand is one of the favorites for a sandbox for a reason: it is finer and has been washed, making it safe for children to play in. Avoid sand that contains quartz, marble, crushed limestone, or sand that’s too dusty.
Frequently Asked Questions
How long does it take a sandbox to dry?
If you have a large sandbox (and go the natural way), it will take 24 hours or more to completely dry. You have to constantly turn the sand over to make sure it dries evenly.
For smaller areas, you can use the oven-dry method I described above, which won’t last more than 3 hours.
What happens if play sand gets wet?
If water gets into the sandbox, it can become the breeding ground for bacteria.
That’s why it’s vital to let the sand dry out properly before covering again. Sand must be raked every day to remove hard sand, clumps, and junk.
Do not let the pets play in the sandbox, no matter how much the kids beg you!
How to prevent sand from getting thrown out of the sand box?
Those little hands are the hardest clamps you’ll ever come across! To avoid a mess of sand practically everywhere, you should opt for using very fine sand, such as masonry sand. This sand is safe and has uniform granules.

