![How Do I Start A Compost Bin? [And Make Great Compost]!](https://enviromom.com/wp-content/uploads/2021/08/How-Do-I-Start-A-Compost-Bin.jpg)
How Do I Start A Compost Bin? [And Make Great Compost]!
I am not a particularly keen gardener, but I have become an avid composter. The biggest attraction for me is the benefit that composting brings to the environment by reducing our carbon footprint.
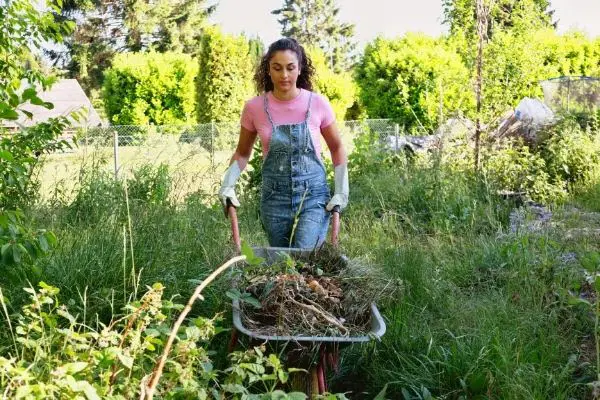
Whether you are doing it for the planet, for your garden, or both – to start a compost bin is an excellent idea. But what is it, and how do you start?
If you’re wondering how to start a compost bin, here are some useful tips and advice you’ll need about creating your very own compost bin!
Creating a compost pile is perfect if you want to be more eco-friendly, and it’s not just a fly-by-night trend that’ll go out of fashion soon. Compost piles provide valuable lawn care as well as being great for the environment!
Want to know more? Of course, you do! Read on to find out about compost piles and how you can start your own!
Why is having compost so useful?
Compost is the most essential supplement you can give your lawn, and there are numerous benefits to creating a DIY compost heap.
Compost creates nutrient-rich humus for your lawn. This provides valuable nutrients for your plants and helps them lock in essential moisture, hence the nickname “black gold!”.
Not only that, but the composting process uses up to 30% of household and yard waste that would otherwise end up in the trash. With certain methods of composting – such as Bokashi – that figure can get close to 100%!
This is super important because if the organic matter becomes landfill waste, it doesn’t have enough air to decompose quickly. It then produces harmful methane gas, contributing to global warming.
Gathering Your Tools and Materials
Plastic Container
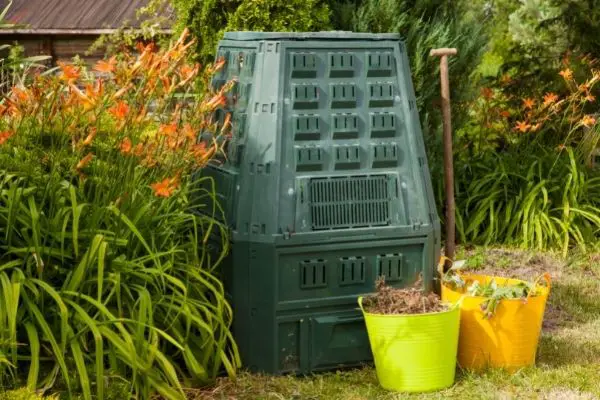
First, unless you buy a compost bin, you’ll need to construct your bin. Simple compost bins can be made from a plastic container with wire fencing, which should be around 4-5 feet high.
Green Materials
Your green materials contain nitrogen which provides the proteins and amino acids needed for the fungi and bacteria to get to work.
Manure, kitchen scraps, tea bags, coffee grounds, grass clippings, and green leaves are excellent sources of nitrogen!
Brown Materials
The brown materials are rich in carbon, and they provide the microorganisms in the pile with energy. It’s also what makes the compost pile look typically “light and fluffy.”
Brown materials you could add to your pile are fibrous or wood-based items, including branches and stems, tree bark, wood ash, and sawdust.
Hosepipe
Once you’ve added your layers of yard waste, you may want to use a hosepipe to add water to each of the layers, particularly if the materials are very dry.
Having wet materials means that fungi, insects, and other organisms will be attracted, aiding in the composting process!
Garbage Bag
Next, you’ll need a garbage bag. Place your bin or whichever container you’re using on top of the garbage bin and start filling the bin with your compost materials.
Composting Thermometer
To ensure your compost pile is at the right temperature, a composting thermometer is a good idea. Within just days of building your pile, it will start to heat up.
The first phase of the composting process is called mesophilic. This is when it reaches between 68°F and 104°F. A composting thermometer helps you check your pile’s progress, and it will essentially tell you when it’s “cooked” and ready to be turned.
Shovel
Don’t forget your shovel! Every couple of weeks, give your compost pile a turn with a shovel or a pitchfork. This gives the pile air, which is super important as oxygen is essential for success.
Turning your compost pile adds oxygen; however, you can skip this part if you’ve already added a coarse material such as straw.
Power Drill
You’ll also need a power drill to drill lots of holes in the bottom of your bin. These holes are super important for when you add worms to your compost pile. The holes prevent the bin from flooding, and you don’t want those little worms to drown!
You’ll also need to drill a hole in the side for your tap. Make sure the hole is slightly wider in diameter than your hose, so you’re not struggling to fit it in.
Bungee Cord
This is essential if you have animals that are likely to wander near your compost pile! To prevent the contents of your pile from being strewn over your lawn, secure the bin with a bungee cord, to keep unwanted visitors out.
How to Build a Composting Bin
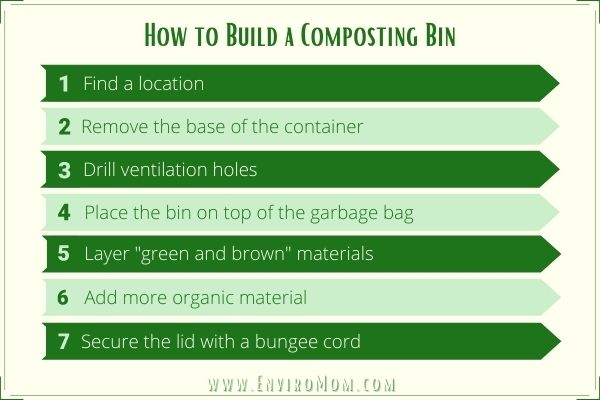
Step 1) Find a location
Now that you’ve got all your tools and materials at the ready, it’s time to start building your compost pile! The first step is to find the right location for your pile.
Find an open and level patch with good drainage; the last thing you want is your compost pile sitting in water! A sunny spot with a little bit of shade is perfect as the sun will help heat your pile, and the shade will stop it from drying out too much.
Step 2) Remove the base of the container
Have your work gloves at the ready because the next step is cutting off the bottom of your container with a saw or substantial knife.
Make sure you’ve got a good grip, and be ultra-careful not to slip, as this can be a tricky job. You don’t want it to end up in a trip to the emergency room!
Step 3) Drill ventilation holes
Next, grab your drill and make lots of holes outside the container to create a nice airflow. If you don’t want to cut the bottom off, be sure to drill lots of holes in it, so there’s no risk of flooding.
Composting piles can be tricky customers; you need to get that balance of not too wet but not too dry. If your pile gets soaked, it could disrupt a successful composting process.
Step 4) Place the bin on top of the garbage bag
Next, pop your garbage bag or weed cloth, if you’re using that, underneath your compost container, so it stays dry. You can then start filling your bin with food waste and other composting materials.
Further down, we’ve covered how to start layering your pile, so be sure to check that out!
Step 5) Layer “green and brown” materials
Your brown and green materials are the key ingredients for a successful compost pile! The best way is to layer your brown and green materials, alternating between the two. Think of it like making a lasagna!
Start your compost pile off with a layer of brown materials such as straw, wood ash, or twigs and leaves. Then add your green materials, anything from grass clippings to kitchen scraps. Carry on alternating between brown and green materials to create a nice healthy compost pile.
Step 6) Add more organic material
Keep adding your organic materials, such as manure and fertilizers. These are great activators that speed up the heating of your pile and provide a great source of nitrogen for microbes, which are highly beneficial to your compost pile!
Without these microbes, the organic compost materials wouldn’t break down, so there would be no compost.
Step 7) Secure the lid with a bungee cord
Lastly, make sure your pile is securely shut with a lid that’s tied with a bungee cord. This prevents any pets or other animals from thieving any composting materials!
How Does The Composting Process Work?
Simply put, organic composting is a very natural and eco-friendly process where a heap of food waste and other usable compost materials are broken down.
If you mix the right materials in the right amounts, then fungi, bacteria, and worms will produce what’s known as “black gold”. The finished compost can then be added to soil and garden beds to upgrade their fertility and water holding abilities!
Tips for Maintaining a Healthy Compost Pile
Water
Your compost heap should be moist but never soggy. You probably won’t have to worry about water too much as the rain will add nice moisture to the pile, as well as the wetness from your green materials.
But in especially dry and sunny conditions, you may have to add some water yourself. If you get carried away and overflow it, add more brown materials to soak up the wetness.
Turn
A healthy compost heap will demand regular turning, which can be a bit of a workout if you don’t have the right tools!
Turning your compost gives it a good airing and mixes up the yard waste, vegetable scraps, and other materials, resulting in faster decomposition. Arm yourself with a good shovel, and the job of turning will be much easier!
Only Fill with Organic Materials
Some things should never see inside of your compost heap. Don’t add meat or dairy products, or any diseased plants. Another absolute no-no is pet waste such as dog or cat litter, as these will create truly unbearable smells!
Add Worms
Did you know that adding worms to your compost heap can be a big help in speeding up the decomposition process? However, if you are going to add worms, be sure to get the right ones, as some species don’t like the conditions of a compost heap.
Red wigglers are great for decomposition, and native earthworms usually find their way into the holes or open-bottom of the container if the conditions are good.
Keep “Greens and Browns” Properly Balanced
The key to getting good compost is getting the right mix of the brown and green stuff! The green and brown materials need to be well balanced.
If you find that your compost is too dry, chuck some greens in, and if it’s too wet, treat your compost heap to some more browns.
Consider Adding a Compost Activator
If you find that your compost heap isn’t heating up well enough, try adding an activator. This could be animal manure or fertilizer. These help speed up the heating process, which can be especially useful if you decide to compost indoors.
What Can You Use Your New Compost For?
You can use your new compost to spread over your garden beds which will create nutrient-rich soil and help it to hold onto moisture more effectively. This also eliminates weeds and reduces the need for potentially harmful pesticides and chemical fertilizers.
Final Thoughts
Ultimately, organic composting can be an incredibly inexpensive way to go green! It’s also perfect for those who are just starting their eco-friendly journey, as it’s a fairly uncomplicated process.
Making your own composting may not seem like much, but every little helps when it comes to saving our planet, and it can be a lot of fun too!
Frequently Asked Questions
Is making a DIY compost pile expensive?
No, making your own compost pile can be really inexpensive! Granted, you can spend hundreds of dollars on specially made compost bins, but why not save money (and have fun!) by making your own?
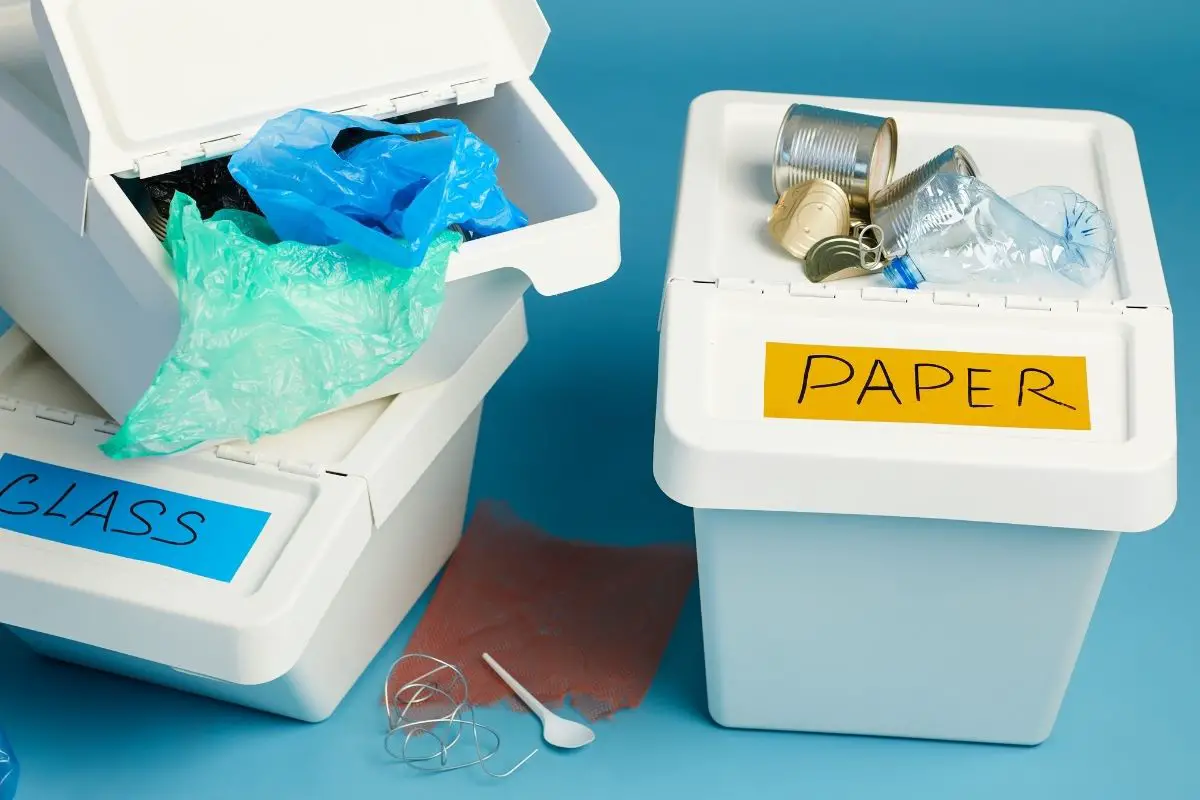
From cardboard boxes to plastic buckets, you could use loads of different containers as a compost bin. Best of all, it will cost you next to nothing, AND you’ll be helping the environment even more by recycling!
Where should I put my compost bin?
Compost bins are typically placed in a spare corner of the yard or garden. It should be easily accessible but out of the way where leaking liquids or smells won’t cause a problem.
Try to position it on a level and well-draining ground such as soil, preferably in a nice sunny spot. If your compost bin gets cold, this can hinder the composting process.
What goes at the bottom of my compost bin?
The bottom layer of your compost bin should consist of straw or twigs as this provides good drainage. Other than that, there isn’t really a specific order in which things go into compost piles.
A good tip, though, is to start adding your composting layers one at a time. Be sure to alternate between green and brown materials. You can also add a nitrogen source to kickstart the composting process.
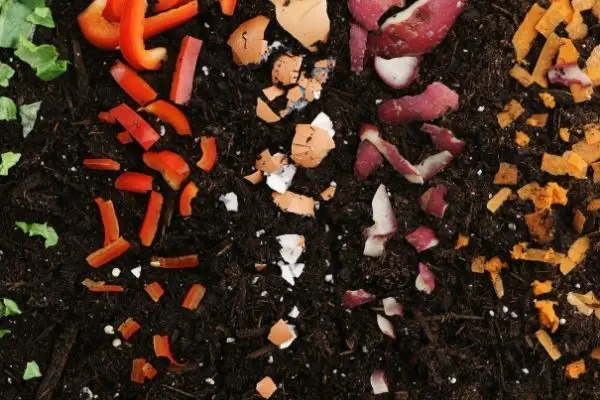
Can I put food scraps in a compost pile?
Yes, some food scraps are perfectly safe to add to your compost pile. These include:
- Coffee grounds
- Eggshells
- Fruit and vegetable scraps
However, there are some food scraps that you absolutely shouldn’t add to your compost pile, including meat, bones, and dairy products, and foods that are high in oil and fat such as peanut butter and mayonnaise.