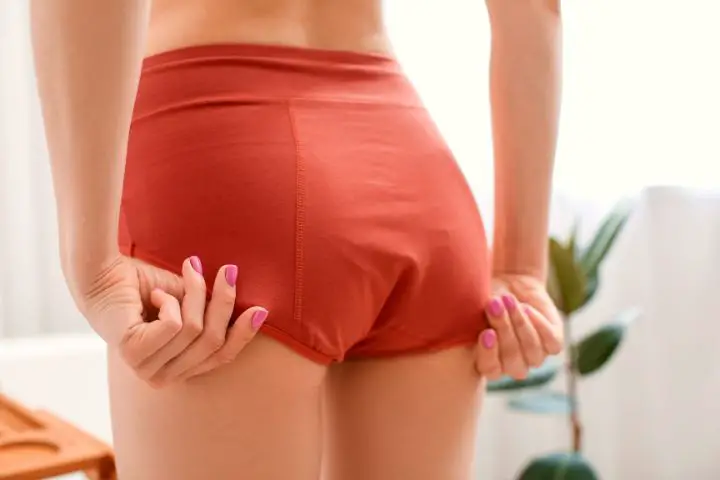
DIY Period Panties – Easy Guide to Make Your Own Leak-Proof Underwear
Whether you’re looking for a more comfortable alternative to traditional period products or you want to be more environmentally conscious, period panties are a great option to explore.
Good quality period panties can often be pricey and finding the perfect fit usually isn’t possible right off the bat. Nevertheless, you may have found yourself ordering them online or grabbing them off the shelf. But what if there was another option – that you could tailor and tweak them with your own hands?
You heard that right! DIY period panties are all the rage these days – and you don’t need to be a skilled seamstress to make them yourself.
Pros and Cons of DIY Period Underwear
Note that this section is NOT about the benefits and downsides of period underwear itself. If you want to find out whether and how it works, head over to my earlier article.
Pros of DIY Period Underwear
- Freedom of expression – you can choose from any color, pattern, style and more instead of searching online for hours to find something that you like.
- Customizable according to your needs – every body is different, and DIY allows you to stitch a product to your exact preferred fit and comfort.
- Cost-effective – especially for those who already have sewing kits at home.
- Sustainable – not only are you creating a reusable item, but you are also not feeding into your carbon footprint from the shipping and the packaging of online purchases.
Cons of DIY Period Underwear
- Labor intensive & time-consuming – DIY requires much more effort than making an online or store purchase. But it is definitely worth the result and can even be a therapeutic activity or hobby!
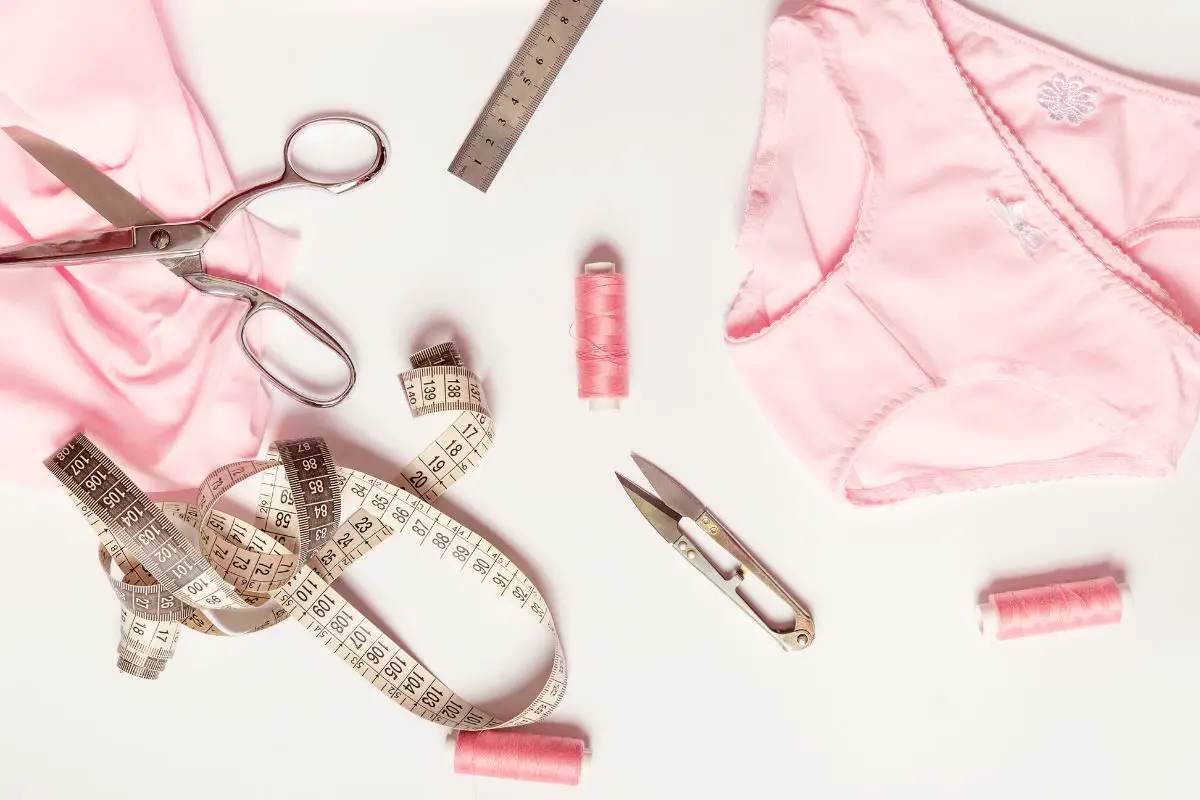
What Supplies Do I Need for DIY Period Panties?
As with any DIY project, the first thing you will need is the raw materials. Don’t panic! The stuff you will need is very commonly found so you won’t need to trek beyond your local fabrics shop to find what you need.
Period underwear consists of three layers – top, inner and outer. Each of these serves a specific purpose, which is why you need different materials for each.
The top layer is the layer that directly comes in contact with your skin, so you’ll definitely want this to be comfy and suitable for your skin type. Cotton is the go-to option as this is generally suitable for everyone, especially those with sensitive skin or allergies.
You can also opt for a blend such as cotton jersey, which may be more durable and a good option for those with a heavier flow.
The inner layer is perhaps the most important layer – this is where the real (period) party happens! You want this layer to have the right level of absorbency to reduce the chances of leakage. That, of course, will mostly depend on your flow. You also have the option to choose between more natural materials such as bamboo or eucalyptus, or standard absorbent fabrics such as polyester.
Or even Zorb, which is especially designed for strong absorption. (Heavy flow, I’m looking at you!)
And finally, the outer layer, which brings out DIY underwear together to make a final product! This layer is what locks everything in – quite literally. It has to be waterproof to be period-proof and leakproof. For this, you can go with any materials as long as it is polyurethane (PUL) covered. PUL is what creates the waterproof layer, so this is non-negotiable!
How to Sew DIY Period Underwear
Once you have all your fabrics in order, it’s time to get your hands dirty (in stitches). Here’s a step-by-step guide on how to bring your DIY period underwear to life.
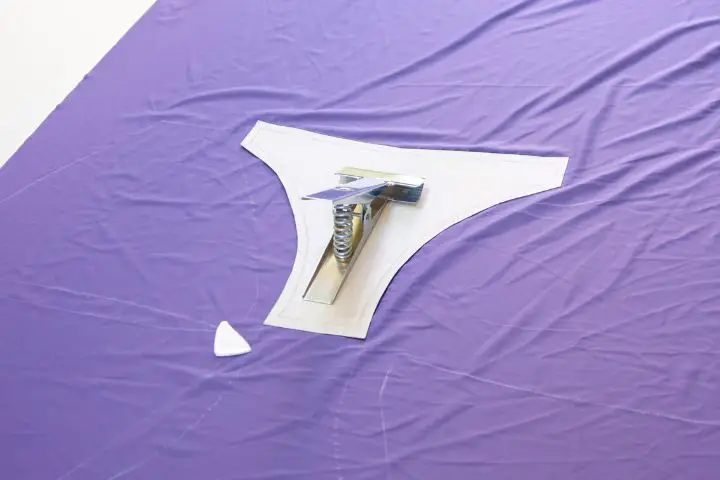
Step 1: Print the Patterns
A little guidance never hurt nobody – especially when it comes to sewing. You can find these online, print them out in the correct size and you’re ready to snip some fabric. These patterns come in a variety of styles and sizes, so you can choose one that fits your needs. Here’s a pattern you can download for free.
In this pattern you will have three main pieces – the front, the back and the middle (i.e. the gusset). You want to pay close attention to the gusset piece – this is the piece right at the center of your underwear which will contain all the absorbent layers. This will be used for the materials you selected for your top and outer layers.
You can decide its placement and length based on your comfort and flow.
An additional tip from sewing experts is to add a fourth piece for your absorbent (inner) layer. Since these will be stitched onto the gusset piece, you want them to be a little bit smaller so as to not interfere with the seams and also not be too close to the edge.
If you’re anything like me, the fourth piece will also be a way to shush your leak anxiety.
Check out this video for an awesome guide on how to get all your pattern pieces ready.
Step 2: Cut the Fabric
Once you’ve looked at your printed patterns and made any adjustments necessary, you can start cutting the fabric pieces for your underwear. Make sure you use the correct pattern piece with the correct material – especially for the absorbent layers!
After cutting the fabric, you’ll want to make sure each piece is placed correctly before you start stitching away. At this point you might be tempted to reach out for pins, but don’t forget, this isn’t just regular underwear – it’s period underwear! Holes created by pins could let leaks through. We definitely don’t want that, so make sure not to use them in the gusset pieces. Good alternatives to pins are double-sided tape or a safe glue.
And a reminder: make sure to place the gusset pieces in the correct position and order!
Step 3: Stitch the Fabric Pieces
Once you are ready to sew, it’s important to stitch in a systematic order to make sure your DIY underwear is as secure and durable as possible.
First you want to stitch together the top and inner layers of your gusset. Once that is done, you can move on to stitching the body of the underwear (the outer gusset piece to your front and back pieces). This stitching process can be a bit complicated, so check out this guide on regular DIY underwear which applies the same necessary techniques. Just don’t forget to add the absorbent layers at the end!
Step 4 (Optional): Additional Design and Laces
If you’re happy with simple underwear, then you can stop here.
But if you’re looking to bring some life to your new creation, feel free to add lace, bows, or anything else your DIY heart desires. You can even add some elastic for additional security.
And voila – you have your very own hand-made period underwear!
Final Thoughts
Whether you decide to purchase online or go DIY, remember that your comfort is the most important thing. DIY projects give you the great benefit of customizing your underwear to your exact needs, whether that be based on your preferred fit or your natural flow. On the other hand, ready-made products are quick and convenient.
Or you can do what I do – have it both ways. I might not be handy enough to sew them myself, but I am lucky enough to have a kind friend who DIY-ed me several period panties. Still, I like to keep a couple of store-made pieces as a backup.
Frequently Asked Questions
How long will period underwear last?
If you take good care of them, your period underwear will last several years. It also depends on the quality of the materials you use. More durable materials will last longer, while cheaper materials may only last a few months.
How do you clean period underwear?
Period underwear should be washed like the rest of your clothes, just with a little more care. Running a delicate laundry cycle in cold water, or alternatively, you can hand-wash your period underwear with any mild detergent.