DIY Beeswax Wraps (Make Your Own Sustainable Food Wraps!)
Beeswax wraps seem to be all the rage, with new brands popping up all over the place. And, each brand seems to have its own blend or formula for creating beeswax wraps.
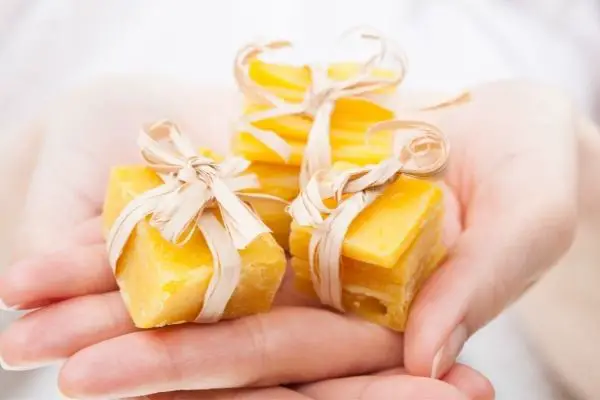
If you’re considering purchasing your own beeswax wraps, slow down! You can actually DIY beeswax wraps in the home for your own wraps that work just as well.
To make DIY beeswax wraps you’ll need organic cotton, jojoba oil, and beeswax. With a simple process involving the oven, you can create DIY beeswax wraps that work just as well as their store-bought counterparts.
What Are Beeswax Wraps?
Before we dive into the how’s of beeswax wraps, let’s talk about the what. So, what are beeswax wraps?
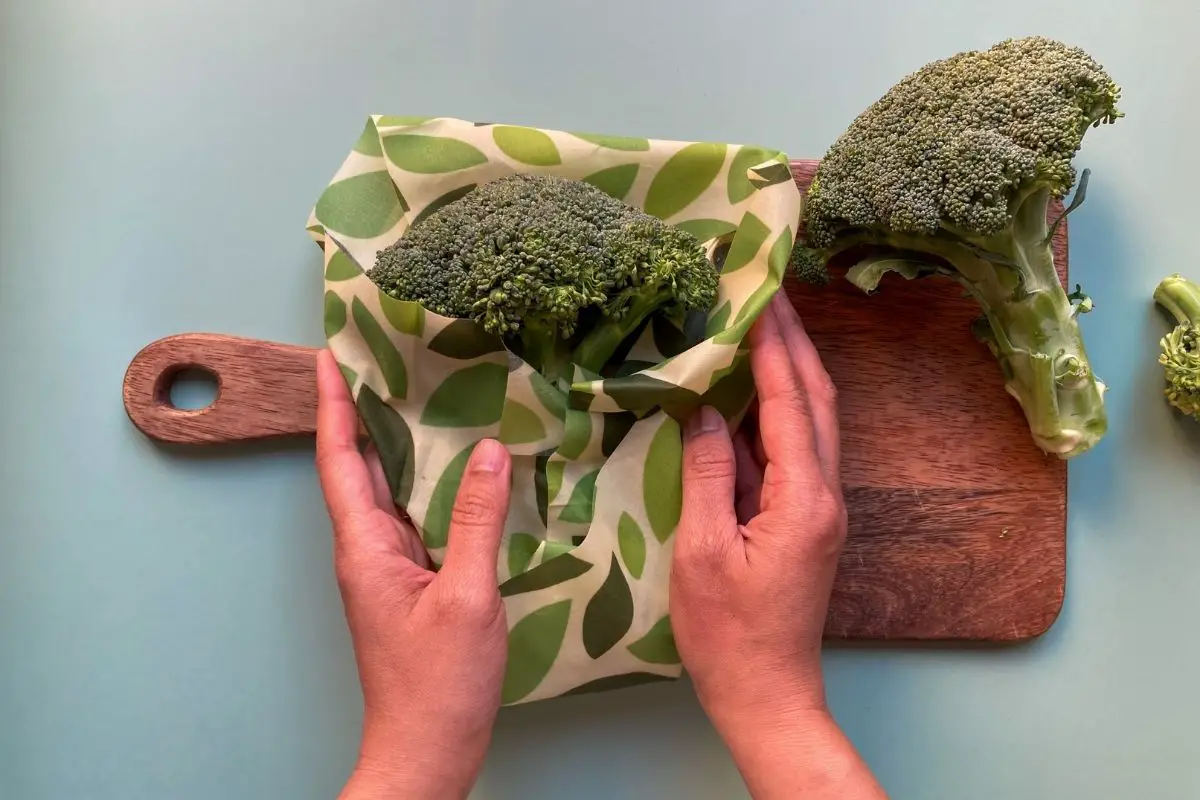
Beeswax wraps are an all-natural, environmentally friendly solution to traditional plastic wraps. They’re made out of an underlying fabric, oil, and sometimes plant resin.
Beeswax wraps can cover jars, containers, and foodstuffs. They’re great for storing your leftovers, lunches, or fruits and veggies with a natural alternative to plastic wrap.
Suggested Sizes For Beeswax Wraps

If you’re thinking of making beeswax wraps, it’s a good idea to create a few different sizes of wraps. That way you’ll have something on hand for every type of food that you need to store. Here are a few suggested sizes to make:
Small
Small wraps should be 7×7 or 8×8-inch wraps. They’re perfect for covering little items such as an apple or another cut fruit or for placing over the top of a mason jar.
Medium
If you want something a little larger, you can go for either 10×10 or 11×11 inch wraps. These are perfect for wrapping up a block of cheese or for storing a sandwich for lunch. They can also cover a bowl of cereal or small veggies.
Large
If you need large wraps, you can use 13×13 or 14×14-inch wraps. These are perfect for covering a pie pan, a medium mixing bowl, a basket of sourdough bread, or half a watermelon.
Extra Large
If you want to cover baking dishes, large bowls, or loaves of bread you might want some extra-large beeswax wraps. These should be 16×16-inches or larger to keep your goods fresh.
How to Make DIY Beeswax Wraps
Now that you’ve got an idea of what size beeswax wraps to make, it’s time to talk about how to actually make the beeswax wraps. To make these beeswax wraps, you’ll need to gather a few ingredients:
- Organic 100% hemp, linen, or cotton fabric
- Scissors
- Shaved beeswax or beeswax pastilles
- A clothes hanger or twine and clothespins to dry the wraps
- Parchment paper or aluminum foil
- A paintbrush that you won’t mind throwing away afterwards
- Baking sheets
- An oven
Once you’ve gathered your supplies, you’re ready to get to work! To get started, you’ll need to pick which size beeswax wrap you want to make.
Step One
Start by taking your chosen, organic fabric and cutting it into your chosen sizes and shapes. While you’re cutting the fabric, you can turn your oven on to preheat.
Step Two
Make sure to use the lowest possible setting on your oven, which is usually somewhere between 150ºF and 220ºF.
Step Three
Next, line your baking sheets with either aluminum foil or parchment paper. Spread the squares of fabric out on top of the baking sheet.
Step Four
Then, take a modest amount of the beeswax pastilles and sprinkle them over the fabric’s surface. You want to make sure not to place too many pastilles on the fabric as this can lead to oversaturation.
Step Five
Now, place the fabric squares into the oven. Let the wax fully melt and soak into the fabric, which takes roughly five minutes. We recommend doing this with the door to the oven open so that you can keep an eye on the process.
Step Six
After that, remove the baking sheet from the oven and use a brush to spread the melted wax across the fabric. You should work quickly and do this from the center outwards, making sure not to let the wax harden as you go.
Step Seven
As soon as you remove the beeswax wraps from the oven, hang dry them. They should still be wet and pliable when you hang them up. If they begin to harden, place them back in the oven for a few more minutes so that the wax can melt again.
Step Eight
Finally, let the wax wraps fully dry. As soon as their dried you can use them to cover food containers, cover bowls, and more!
Step Nine
If you need to wash the beeswax wraps you can do so using cold water and a gentle, environmentally friendly soap. Allow the wraps to fully dry before you fold them and store them.
Frequently Asked Questions
If you’ve still got a couple of questions in mind about making your own beeswax wraps, we’ve got your back. Here are some answers to a couple of commonly asked questions about beeswax wraps.
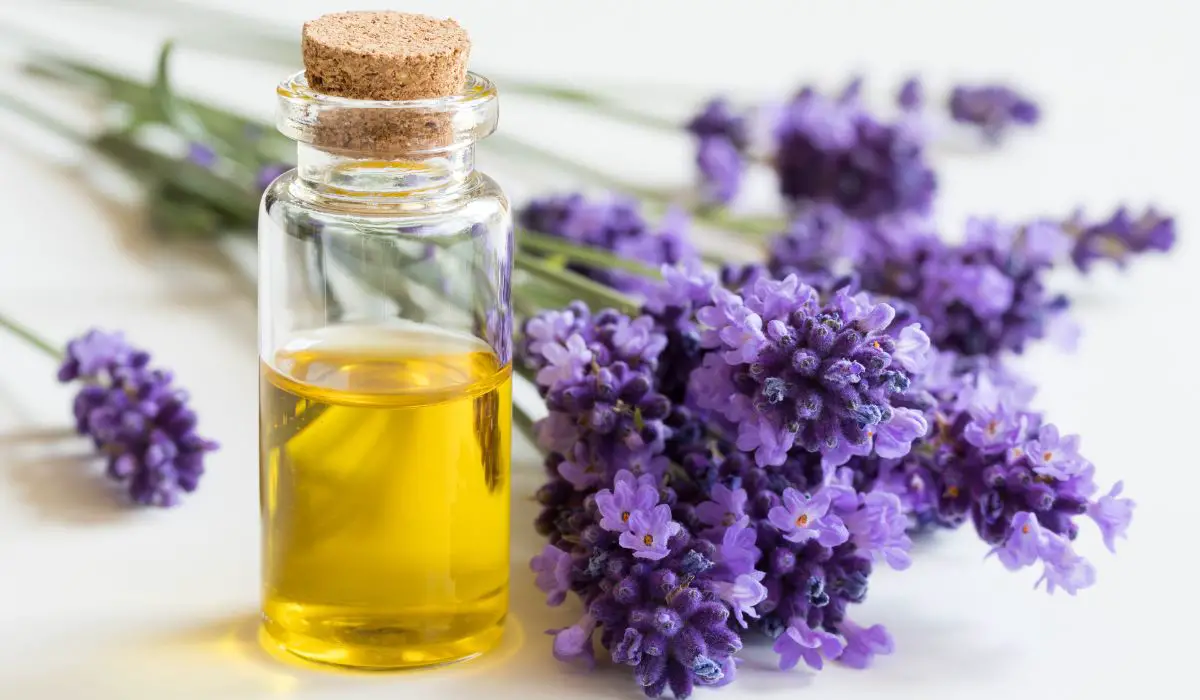
Do you need jojoba oil for wax wraps?
Although you don’t technically need jojoba oil for wax wraps, it’s a smoothing agent that can help make your wax wraps look less lumpy. It’s also great for preventing your beeswax wraps from cracking and requiring touch-ups.
Do you need pine resin to make beeswax wraps?
Some people choose to use pine resin in their beeswax wraps, but it’s not necessary. Just like jojoba oil, people use pine resin in their beeswax wraps to help smooth out the wax and prevent it from cracking.
Is it cheaper to make your own beeswax wraps?
If you’re trying to make beeswax wraps to save money, you’ll find that your costs tend to break even since the supplies can add up. However, it’s a great way to ensure that you’re getting ethically and sustainably created beeswax wraps, especially for vegans.