Best soil for growing plants | How To Create Custom Soil Blends For Your Garden
Gardening is an excellent and worthwhile activity pretty much anyone can do any time of the year.
Entire families can bond over planting their favorite flowers, fruit trees, and vegetables. It doesn’t matter if you’ve got a whole bare yard or a small apartment with potted plants. However, the kind of soil you put in pots and gardens does matter.
Not every area is blessed with nutrient-rich, fertile soil fit for planting. Soil quality is important; low-quality ones will produce weak plants vulnerable to pests and diseases. But worry not! We now have custom soil blends, which you can do at home. You can still create a custom mix for healthier plants even if you have good-quality soil.
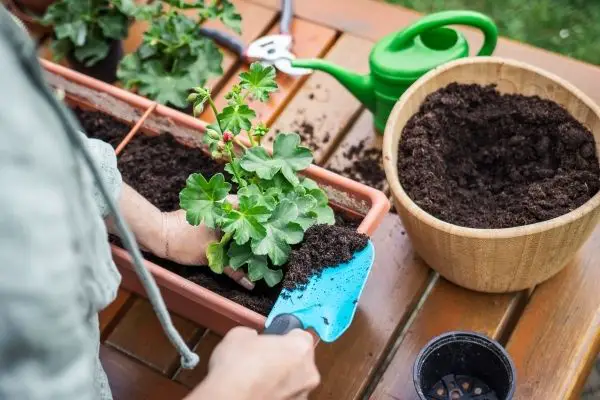
Don’t know where to start? I am sharing some tips on how to make your own potting mix to improve your home garden.
1. Gather The Ingredients
It’s time to take a break from the kitchen for a moment to work on something a bit more creative – yes, I actually find gardening creative.
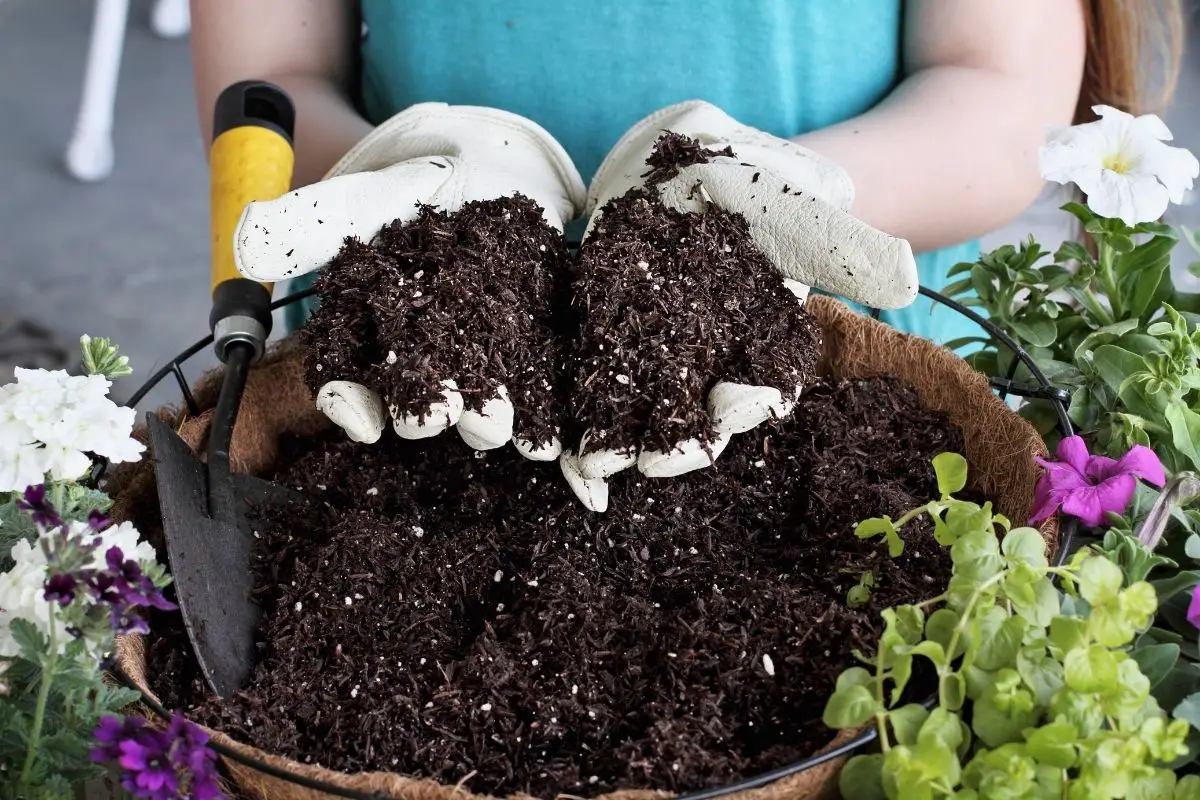
To make your potting soil, you’ll need a couple of ingredients. Believe it or not, you don’t always need to include regular soil.
Here’s a list of ingredients for homemade potting soil:
½ bucket compost. This improves soil structure for a better exchange of water and nutrients.
One bucket coir. This is often made of coconut husks. It’s an ideal base material for soil as it can hold up water nine times its weight.
2 cups fertilizer. Fertilizer increases the potassium, nitrogen, and phosphorus content a young plant needs to grow.
½ bucket perlite. This is a processed volcanic rock product. It serves to increase drainage and alter the weight of your soil.
2 cups fine sand. Sand offers no nutrients but adds to the soil’s overall weight and air space.
½ bucket vermiculite. This is a mined, neutral pH mineral that holds moisture and fertilization.
You can also replace coir with one bucket of peat moss instead. If you want to include topsoil in your blend, try this classic mix:
- 1 part topsoil or garden loam
- 1 part fie sand of perlite
- 1 part compost or peat moss
Always choose soil from your local topsoil provider when making a blend like this. Different soils from different places may affect the growth of your plants.
Aside from these, you could include some additional ingredients to your custom mix for added nutrients, like:
- Blood meal
- Bone meal
- Clay phospahate
- Limestone
Once you’ve got these, you’re ready to make your custom potting soil.
2. Mix Them All Up
Before anything else, wear a dust mask to keep yourself from inhaling the finer ingredients. Whichever kind you want to make, remember to have the mixture as light as you can. A looser blend transports water, air, and fertilizer to your plant’s roots faster. It also keeps your containers from becoming too heavy to move around.
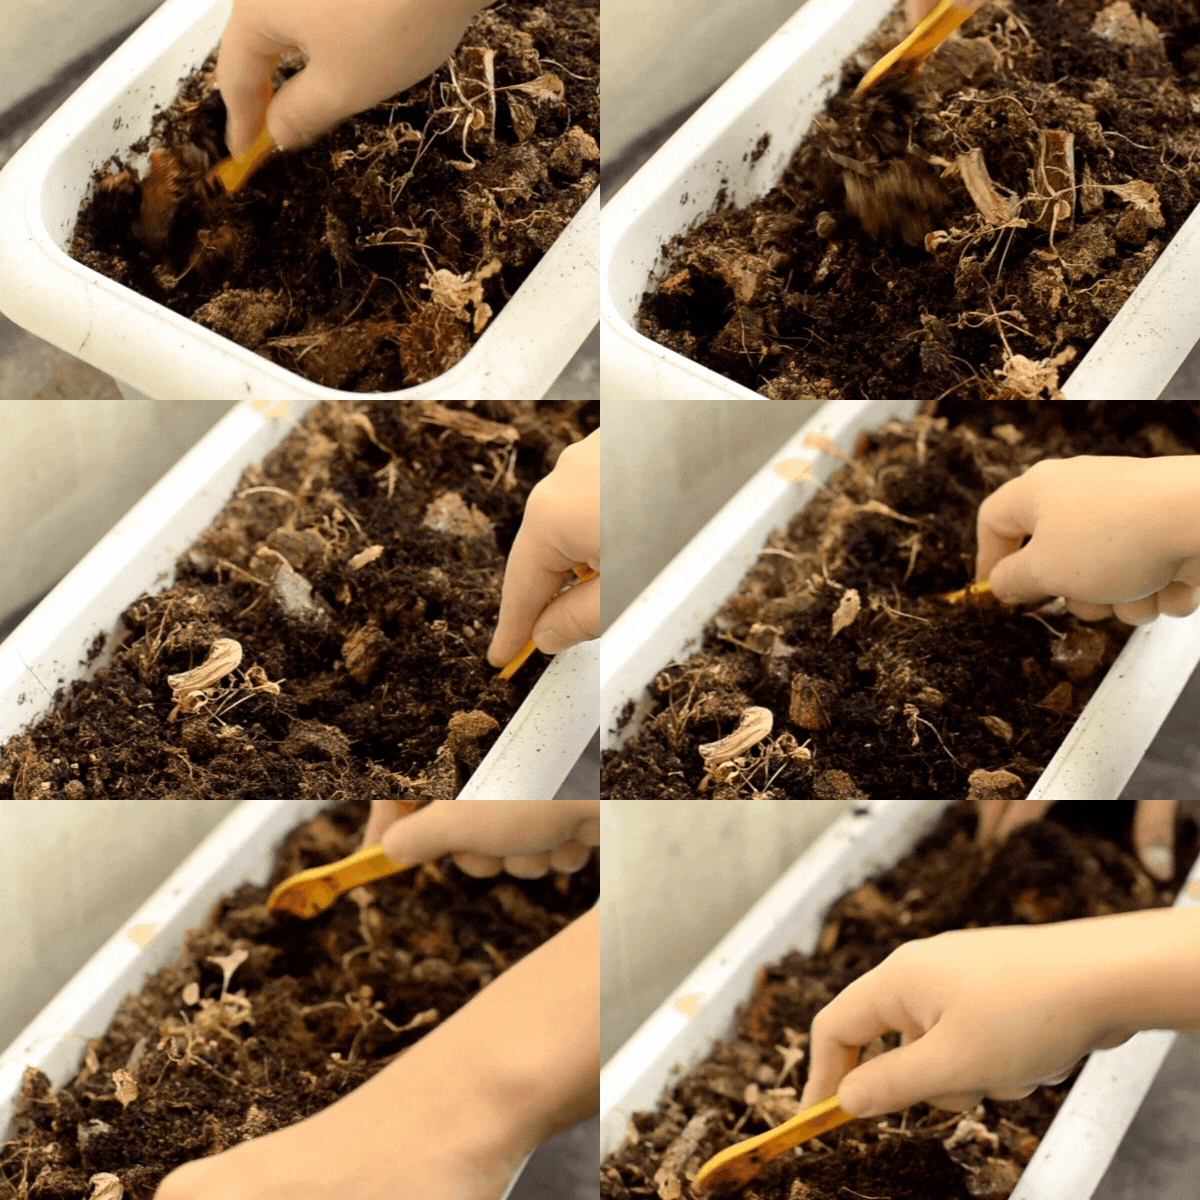
When you’re ready to begin mixing, you can follow this basic recipe:
- Mix the compost, the coir or peat moss, and perlite or vermiculite by the volume thoroughly.
- With a ¼ inch hardware cloth, screen the soil mix through and make sure you get even particles.
- If you wish to add your additional ingredients, mix in 0.4 ounces of clay phosphate and 0.6 ounces of blood meal.
If you follow the amounts mentioned in the previous step, you should end up with five 12-inch hanging baskets or two 14-inch tubs. Double or triple the amount of ingredients from the recipe to make more soil. Use a cement stirrer if you plan to make a larger batch of custom soil.
Picky Plants
Some plants can be quite picky when it comes to the contents of their soil. After making the basic soil blends, you can add some lime to raise the pH level or soil sulfur to lower it.
Marigolds, lettuce, and Russian sage prefer ‘sweet’ soil with a basic pH level of 7.5. Strawberries, potatoes, and radishes thrive in acidic soil with a pH level of around 5.5–6.0. Add the respective ingredients as needed.
For plants like cacti and other succulents, put in more perlite and sand for rapid water drainage. For the opposite, like woodland flowers and ferns, add more coir or vermiculite to retain moisture.
3. Evaluate Your Custom Soil
Once you’ve finished creating your custom mix, you can check it for viability. This step is important for when you decide to make more batches. You’ll know if you created your homemade soil mix correctly and if you used enough of each ingredient. Contact your local county extension agent to find a nearby testing lab.
You can now put the soil in your pots or garden when it’s good to go. If it’s your first time, you can check out these tips for planting a container garden for a successful gardening session.
4. Start Planting!
Always wet your soil lightly a week or two before using it. Doing this activates microbial action. Then, soak it again before you insert seeds into the soil. Moist soil absorbs water better, which you would want for your plants as they grow. If you have unused pre-soaked soil, let it dry, then keep it in an airtight container before using it again.
Not sure how much you’ll need for your pots? Follow this quick guide to make sure you’re filling your containers with enough soil:
| For Pots and Tubs |
|---|
| 8-inch: 3 quarts |
| 10-inch: 6 quarts |
| 12-inch: 8 quarts |
| 14-inch: 12 quarts |
| 16-inch: 20 quarts |
| 20-inch: 24 quarts |
| For Window Boxes |
|---|
| 24 × 6 inches: 12 quarts |
| 36 × 6 inches: 20 quarts |
| For Hanging Boxes |
|---|
| 12-inch: 6 quarts |
| 16-inch: 10 quarts |
You’ll perfect your blends eventually when you keep using custom soil mixes. You may also discover mixtures suitable for every season. You might even figure out how to make your ingredients or settle on one of the best composting methods to do at home – I use a mixture of traditional compost and Bokashi.
Time To Get Dirty
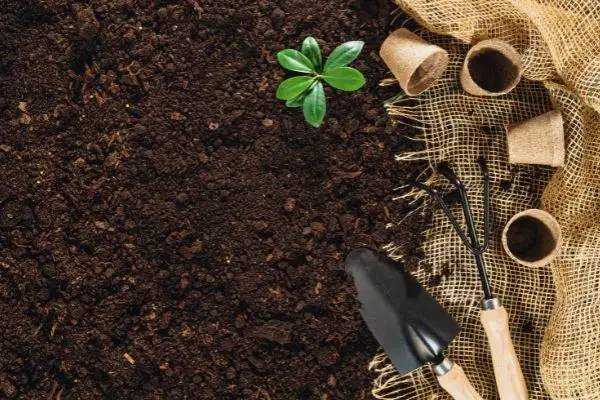
If you’ve reached this point and are still wondering why you need to make custom soil blends, here’s a couple of reasons why you should. Custom potting mix is great for delicate and picky plants. The ingredients in the mix have a lot of nutritional value for growing plants, too.
Because you mixed up the potting soil, you’re assured your plants are healthily and organically grown. There’s something gratifying about knowing that the herbs, fruits, and vegetables in your meals were grown on the soil you made yourself.

