How to Worm Composting Guide for Beginners
I am always looking for solutions to recycle our food waste and divert it from landfills. If you share that concern or are just beginning to think about it, there are many great options for composting!

A worm farm is one possible solution! There are many pros about it and I really can’t think of any cons!
Worms are an efficient way of turning kitchen and garden scraps into nutrient-rich compost and liquid fertilizer.
Kids also seem to have an endless fascination with worms and love picking them up and burying them again.
This article will take you through the worm composting basics, helping you go from kitchen scraps to finished compost!
How Does Worm Composting Work?
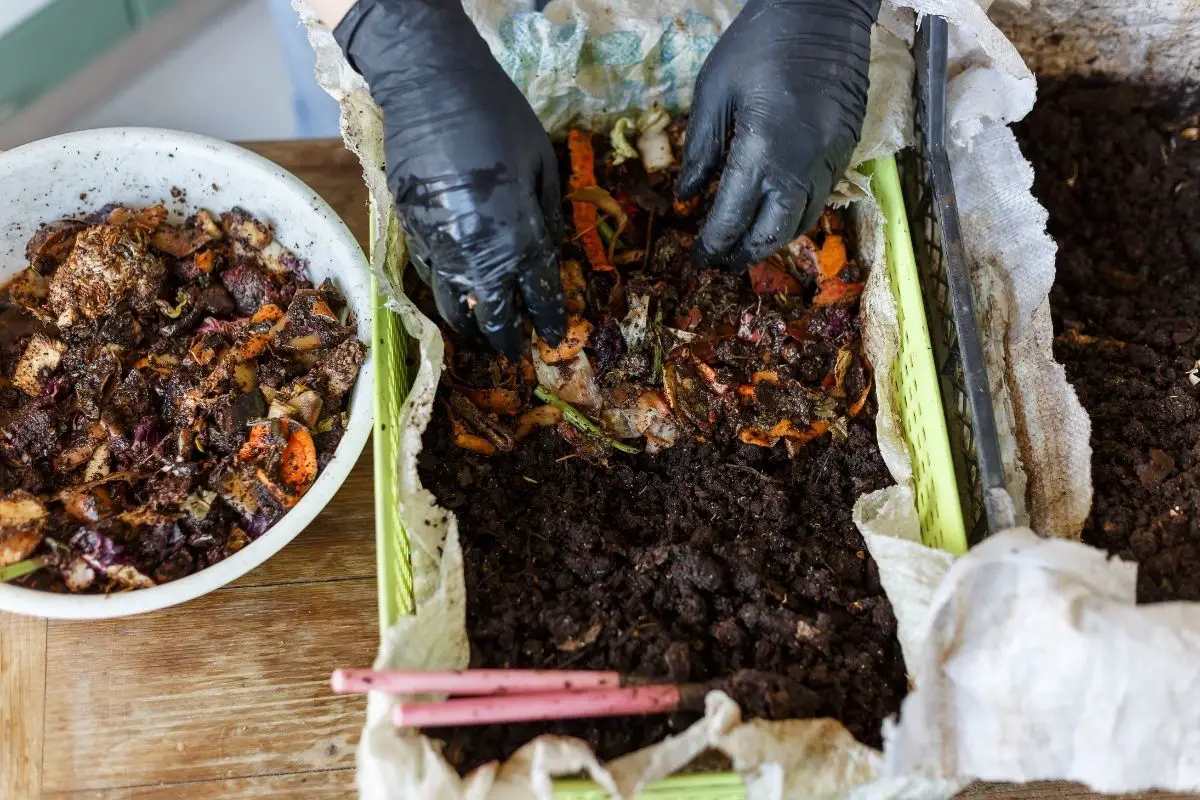
The composting process is straightforward. Put simply, it uses worms to recycle your kitchen scraps and other organic materials into vermicompost – a rich and valuable soil amendment perfect for use in the garden. It also produces a concentrated form of liquid fertilizer.
While regular composting uses micro-organisms to break down carbon-containing waste, in a worm factory, worms perform this function. They break down organic material much faster than micro-organisms. Worms digest scraps and convert them into worm castings.
Why Worm Compost At Home?
There are lots of reasons that more and more people are turning to vermicomposting! Here are just a few:
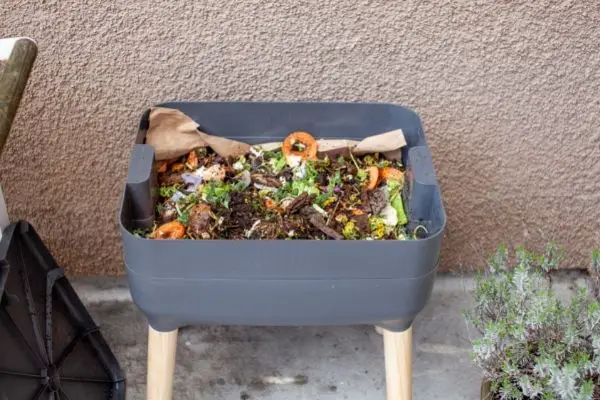
What Will You Need To Set Up A Worm Bin?
Setting up a worm bin couldn’t be easier. Here is what you’ll need to get started:
Plastic Bin
First, you’ll need a bin that will serve as the vessel for your worm factory. You can buy a ready-made bin online, available at a range of price points.
Alternatively, if you’re looking to cut costs, you can create your own. A two opaque plastic storage bins can be used for this, though you’ll have to drill holes in the sides and bottom.
Bedding
Good bedding is essential to keep your worms productive and healthy. It will also be eaten – around 50% of a worm’s diet can consist of its bedding. You should use a combination of materials to ensure diversity.
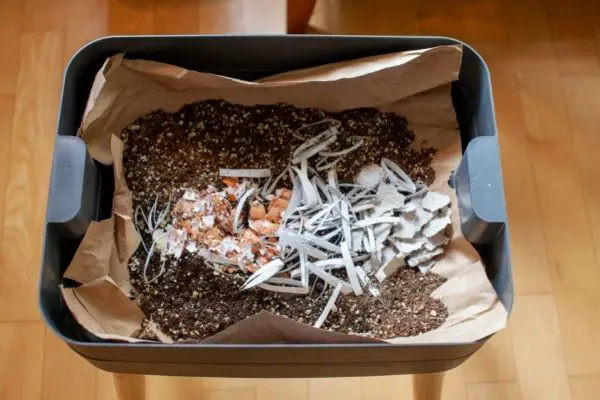
All worm bedding must retain moisture and allow oxygen flow. It must also be of neutral PH and free of sharp edges to avoid harming the worms.
Brown cardboard, shredded into small pieces, makes the best bedding and food. Shredded paper (though not bleached white paper) also works well, as well as black and white newspaper. You can also use aged compost and aged cow or horse manure. Other good bedding materials include peat moss, coco coir, straw, leaves, and wood chips.
Composting Worms!
Next, for the most important part of your composting bin: the worms! Red wiggler worms are the best types of worms to use.
We recommend you order 1-2 pounds of red wigglers to get your worm factory started (this is around 1000-2000 worms). It costs around $30 for a thousand worms, though prices can vary. Be sure to unpack them as quickly as possible once they are delivered!
Tools
To make a new worm bin from two plastic containers, you’ll need a drill. Holes must be drilled in the bottom and side of the bin.
What Can You Feed Your Worms?
It’s best to feed your red wriggler worms a balanced diet. Worms eat fruit and vegetable peels, coffee grounds and tea bags, small amounts of newspaper, and small amounts of garden waste.
You should avoid feeding them large quantities of meat, citrus, dairy foods, and onions. Worms don’t generally like spicy foods, wheat products, and fats or oils.
Though it won’t harm them, they will also avoid food with preservatives. This can lead to rotting food in your bin, which is definitely something you want to prevent.
I still love using my Bokashi bucket for all things that can’t be fed directly to worms. I also add a little bit of already fermented Bokashi scraps to my worm bin. However, I do keep it to a minimum quantity not to expose the wiggly creatures to excessive amounts of acidic elements.
Where’s The Best Place To Set Up Worm Bins?
There’s no single location that’s best for your worm composter. It depends on your home and the space that you have available. Wherever you place your bin, you’ll need to maintain a consistent internal temperature of 55-70ºF AND a low light level.
Many people prefer to keep their worm bins outside because there’s more space. Outdoor bins will require moving into a shelter in the winter months (whether inside the house or into a shed or barn).

For convenient heat and light regulation, many people opt for an inside bin. Placing it in your kitchen will allow you to add your food scraps straight away! Inside bins should be placed away from appliances like fridges, which emit heat, noise, and vibration that worms will be sensitive to. You must also ensure that there’s adequate airflow in the bin by opening windows and doors when necessary.
Worm Compost Tips
Like with any new hobby, practice makes perfect! I made a ton of mistakes when I was first starting out, but do not fear – you’ll be an expert vermicomposter before you know it! These top tips will stop you from making some common beginners’ mistakes.
1. Do NOT overfeed
When it comes to scraps, it’s not always the more the merrier! If you throw every scrap you have into the bin, the worms won’t be able to keep up, and the food will start to rot. Instead, feed your worms every 2-3 days, and gauge how much they are consuming. A whole feeding should be completely gone in around 1 to 2 weeks.
2. Keep food scraps small
All items you feed your worms should be small. Before adding larger items like a whole cabbage or watermelon rind, cut them up or run them through a food processor first. Smaller items will break down faster, reducing odor and discouraging pests. It will also help your ‘compost army’ to eat more quickly.
3. Not too wet, not too dry!
It’s vital to maintain the correct moisture level in your bin. If you add too much water, you run the risk of drowning your worms and making the bin smell strongly which could then attract other insects like fruit flies. On the flip side, if your bin is too dry, the worms could dehydrate, suffocate and lose the ability to tunnel effectively.
To check your bin’s moisture level, squeeze a handful. Water shouldn’t come out (this means it’s too wet), but it also shouldn’t feel dry. You want your bin’s bedding to feel like a sponge that’s been wrung out.
4. Avoid very hot or cold environments
Worms have an optimal temperature range. Used correctly, the bin and bedding should help to regulate this temperature. For happy worms, you want to keep your bin above 54 degrees and below 80 degrees.
Final Thoughts
As an avid composter myself, I couldn’t recommend making a worm composting bin more strongly. Worms are also great for entertaining kids and getting them involved in gardening.
With just a few worms and the right setup, I’ve produced compost and concentrated liquid fertilizer to use in my garden. Worm castings are called ‘black gold’ for a reason – they give a massive boost to your garden soil. I’ve even noticed a significant improvement in the quality of my plants!
Frequently Asked Questions
What is needed for worm composting?
Before you can get started, you’ll require:
- A bin. You can make one of these yourself out of two plastic bins, or buy one.
- Bedding. You can use shredded brown paper, black and white newspaper, wood chips, leaves or even aged compost.
- Worms! Red worms, or red wrigglers, are the best kind to use.
How long does it take for worms to compost?
Provided the conditions are right, a pound of red wrigglers will digest 0.5 to 1 lb. of organic waste scraps a day. After a few weeks in the bin, your worms should mate, start laying eggs, and start to multiply. This will further increase the composting speed.
Should I add worms to my compost?
Whether you’ve got a closed bin, composting tumbler, or an open-bottomed outdoor bin, worms made a welcome addition to your compost pile. Introduce them into the bin slowly, by spreading them out and adding small pieces of food. Cover them with bedding soil to prevent drying out and to protect against flies.
Which worms should I use in a worm farm?
Red wrigglers are the best worms to use for your farm, because they are best suited to the conditions. They digest and reproduce quickly, meaning you’ll have a thriving mini-ecosystem in no time!